I love sweet pickled ginger with seafood. The pickled ginger is not just tasty but cleanses your pallet. Pickled ginger truly allows you to enjoy the full flavor of the seafood.
I always buy a few finger-size roots and a few thick roots of ginger and store them with my garlic bulbs. They pair perfectly with garlic and can store easily for weeks. I also cook with pickled ginger. I add pickled ginger to the pan when I add chopped garlic. This recipe is the method I used for pickling ginger. Keep in mind this recipe of pickling is for flavor and is not for long-term, unrefrigerated storage.
INGREDIENTS 1/3 Cup Ginger Root 1/4 Cup Vinegar 2 Tbsp Sugar 1/4 Cup Water 1 Cup Jar Salt and Pepper to taste
How to make Sweet Pickled Ginger
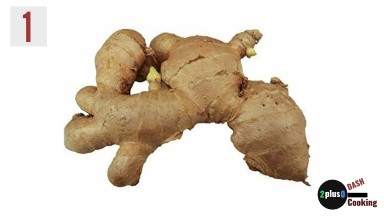
1. Ginger is a root plant that comes from Asia, Africa, South America, and the Middle East. Ginger can be found in most grocery stores in the root vegetable aisle throughout the United States. Ginger has been used for medicinal purposes since it has antioxidants and anti-inflammatory properties. Ginger is widely used in cooking, but most people are introduced to ginger in Asian, and specifically Japanese food such as sushi condiment as gari, or sweet pickled ginger. Sweet pickled ginger goes a long way as a garnish so we will start small.
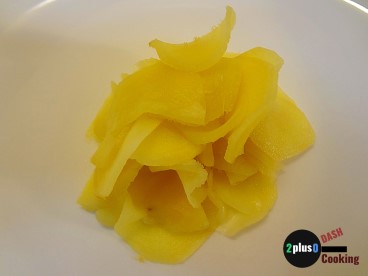
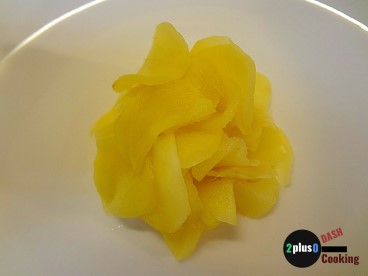
2. We will need 1/3 cup of raw ginger slices. Wash and use a potato peeler to remove the outer skin of one segment of ginger. Slice the ginger as thin as possible. Restaurants slice the ginger so thin for pickling that you can almost see through the slices. The thin slices will help break down the fiber in the ginger as it pickles. Gauge how many slices of ginger you have produced to create 1/3 cup of sliced ginger. Repeat the process of peeling and slicing the ginger segments. Any unused ginger can be saved. The cut end will dry out, the ginger may shrink a little in the process, but the ginger is still usable. I will often sear the cut end of the ginger with a gas lighter so the cut end doesn’t bleed out moisture.
3. Place the sliced ginger in a clean small jar and mark the amount of liquid that would be required to cover the sliced ginger in pickling juice with a pencil. Remove the ginger from the jar. We will make our pickling juice in the same jar. My measurement was 1/2 cup of pickling juice. When I make pickling juice I use ratios of the total liquid I will need. The ratio will be 1 part sugar (2 Tbsp), 2 parts vinegar (1/4 cup), 2 parts water (1/4 cup), a pinch of salt and pepper for my refrigerated pickling. You can add your own spices, but this is just a simple pickling recipe. Long-term, unrefrigerated storage of pickled items requires more vinegar and less sugar.
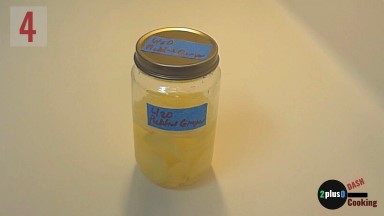
4. Heat the pickling fluid in your microwave to the same temperature as a very hot cup of coffee. The heat will release the flavor out of the ginger and dissolve the sugar. Stir the pickling juice for 10 seconds, then spoon in your sliced ginger. Immediately, lid the jar. You may need to hold the jar with a towel since it will be hot. Make sure the lid is flat and tightly on the jar so no air can enter. Label the jar and allow it to cool before refrigerating. The pickled ginger will be ready to eat in 3 days. We are dealing with a root vegetable, that is very fibrous, and the pickling juice needs time to break down the fibers. Store the pickled ginger in the coldest part of your refrigerator. The pickled ginger can last for months after it has been opened, and the texture and flavor will improve as it ages.
Thanks for stopping by. I hope you enjoy your own Sweet Pickled Ginger. Remember to share your recipes.