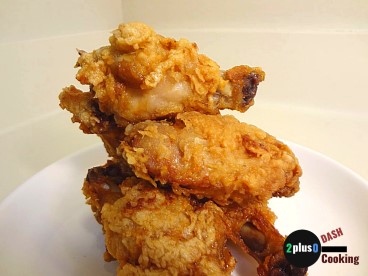
Fried Chicken. Crispy, crunchy, savory. Melt your tongue hot or served cold. Fried chicken is finger food that is always a crowd-pleaser. Long gone will be the days of half-eaten chicken by your guests. I’ve actually seen tailgaters hold onto the chicken bone after the meat was gone and suck on the bone while drinking their beers. It’s that good. With this recipe, your guests will devour all the chicken and ask is there more.
This recipe is my favorite because the chicken is brined. Brining provides tenderness and flavor all the way down to the inside of the bone. No side sauces are needed. The brining brings out the rich flavor of simply good fried chicken. So let’s get started.
BRINING INGREDIENTS (Makes 8 pieces) 8 Chicken Wings and/or Drumettes A Container for brining 2½ cup Water 1/2 Tbsp Sugar 1/2 Tbsp Salt
SEASONING INGREDIENTS 1/2 tsp Paprika 1/2 tsp Salt 1/8 tsp Black Pepper 1/4 tsp Ground Cumin 1/2 tsp Garlic Powder
FRYING INGREDIENTS 1 Egg (scrambled with 1 cup water) 2 cups All-Purpose Flour Canola Oil for frying
How to make Fried Chicken Wings & Drumsticks
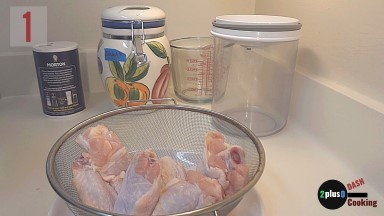
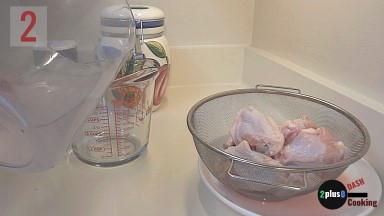
1. Use 8 pieces of thawed chicken wings and drumettes and a clear container that can hold the chicken and brining fluid.
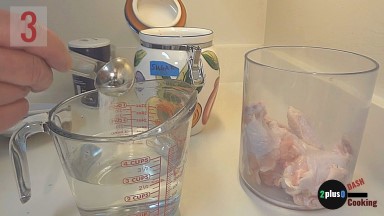
2. Placed the washed chicken into the container with enough water to cover the chicken. Removed the chicken from the container and poured the water into a measuring cup. This will identify how much brining fluid to make.
3. The chicken displaced a little over 2½ cups of water in the brining container so add 1/2 Tbsp sugar and 1/2 Tbsp salt. The measurements of sugar and salt are all in ratio with the amount of water and the planned 18-hour light brine.
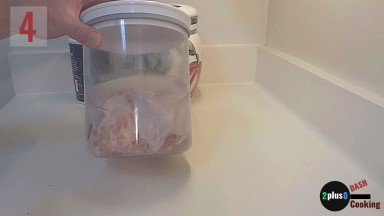
4. The light brine in this recipe is good after 16 hours. Great after 24 hours and can hold for 30-48 hours. A light brine for fried chicken provides more flexibility for when the chicken is cooked. Lid the container and sanitize the outside of the container. Place the container in the lowest and coldest area of your refrigerator.
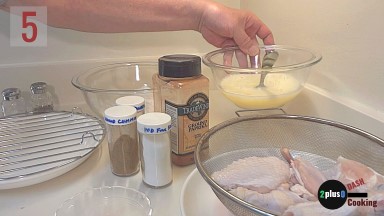
5. This chicken has brined for 36 hours. But it is still within my requirements for brining. Place the chicken on a rack so the moisture can drain off. You can also pat the chicken dry with a paper towel. The chicken must be dry so the batter will stick. In a bowl, scrambled one egg with a cup of water and a pinch of salt and pepper. In another bowl, add 2 cups All-Purpose Flour. Have a plate ready with a rack to hold the floured chicken. In a small bowl, add the following seasoning. Add 1/2 tsp paprika, 1/2 tsp salt, 1/8 tsp black pepper, 1/4 tsp ground cumin, and 1/2 tsp garlic powder. You can use garlic salt can be used, but you will have to reduce the salt in the recipe.
6. Taste the seasoning that you created. I don’t want to waste seasoning, so I season the chicken and not the flour. Season the dry chicken based on your opinion of the flavor of the seasonings.
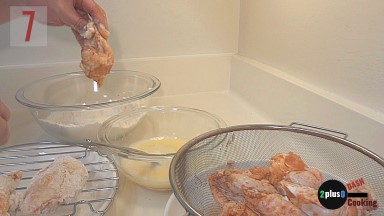
7. Use one hand to do the wet egg application and the other hand for the dry flour application. Use one hand to dip the dry-seasoned chicken into the flour. Shake off the excess flour, then dip the chicken into the egg mixture with the other hand. Now return the chicken to the flour for a final coating of flour. Shake off the excess flour and place the chicken on a wire rack. The wire rack maintains those little lumps of batter that would disappear if you laid the chicken on a plate without a rack. Allow the floured chicken to rest for at least five minutes before frying so the batter can set on the chicken.
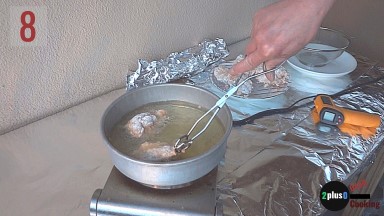
8. Deep fry the chicken in a deep, thick, metal pan with enough oil to cover the chicken. Heat the oil to 300-325ºF before adding the chicken. Use a frying thermometer to measure the oil temperature. Fry the chicken with like items to control frying time. That is, fry the drumsticks together and the wings separately. Or add the drumsticks, then wait at least four minutes before adding the wings. Suspend the chicken in the hot oil with long metal thongs for a minute, so the batter has a chance to form those desired fluffy fried chicken flakes. Otherwise, the chicken will sink and stick to the bottom of the fryer. Release the fried chicken into the hot oil away from you and move on to the next piece. Do not overcrowd the fryer with chicken. Crowding the fryer will lower the oil temperature and add moisture to the oil. I love fried chicken, but the fried chicken smell lingers when cooked indoors. I am using a hotplate outside set to 70% power that is rated to 1350 watts, which is excellent for frying even a whole chicken in a large pot. (Check my Shop Page if you want a high power hotplate.)
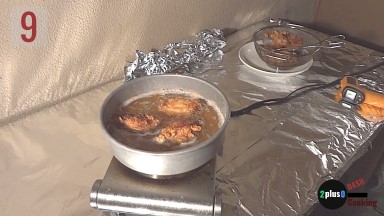
9. Fry the chicken for 25-30 minutes or until done, and turn the chicken halfway through the frying. Frying takes practice because there are so many size pans you can fry with, and the cooking time will vary. I am using a thick deep cake pan, so I can get some good pictures. The best way to avoid playing with the temperature knob since the oil temperature will fall and rise is not to overcrowd the fryer and use a thick frying vessel like a cast iron pot or a Dutch oven. If you think your oil is getting too hot, then turn down the heat and/or add 1/8 cup of oil from the bottle.
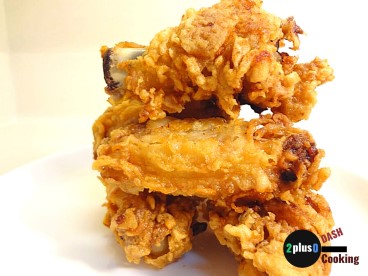
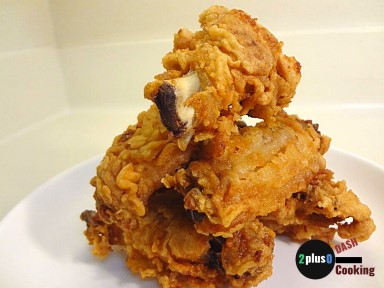
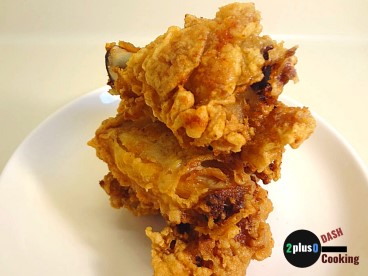
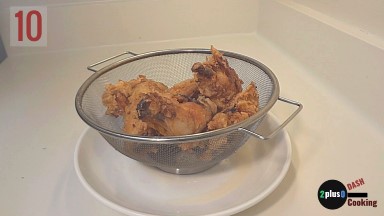
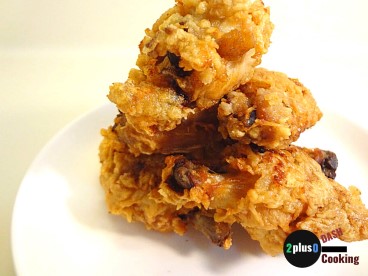
10. Allow the cooked chicken to drain and cool on a wire rack. Keep the chicken warm until serving. A nice warm oven works well and even adds more crunch to the chicken. You can use this recipe on larger cuts of chicken like breasts, drumsticks, and thighs, but the brining and frying time will take a little longer. You will also need a temperature probe to check for a safe internal temperature 160°F of the chicken meat. Breast and wings will fry faster than thighs and drumsticks. If you don’t have a cooking temperature probe, then pick a piece of cooked chicken and cut it with a knife. The meat and juices inside, including juices from the bone, should be clear and not pink.
Plating: Serve piping hot on top of waffles with maple syrup or as an appetizer with your favorite beverage.
Thanks for stopping by. I hope you enjoy your own Fried Chicken Wings and Drumsticks. Remember to share your recipes.